I've come up with a new technique for modeling real life objects in 3D, a refinement of
my previous technique. It won't work for all objects and may not be perfect yet, but I've put together an illustrated guide that will help you use this technique in the future.
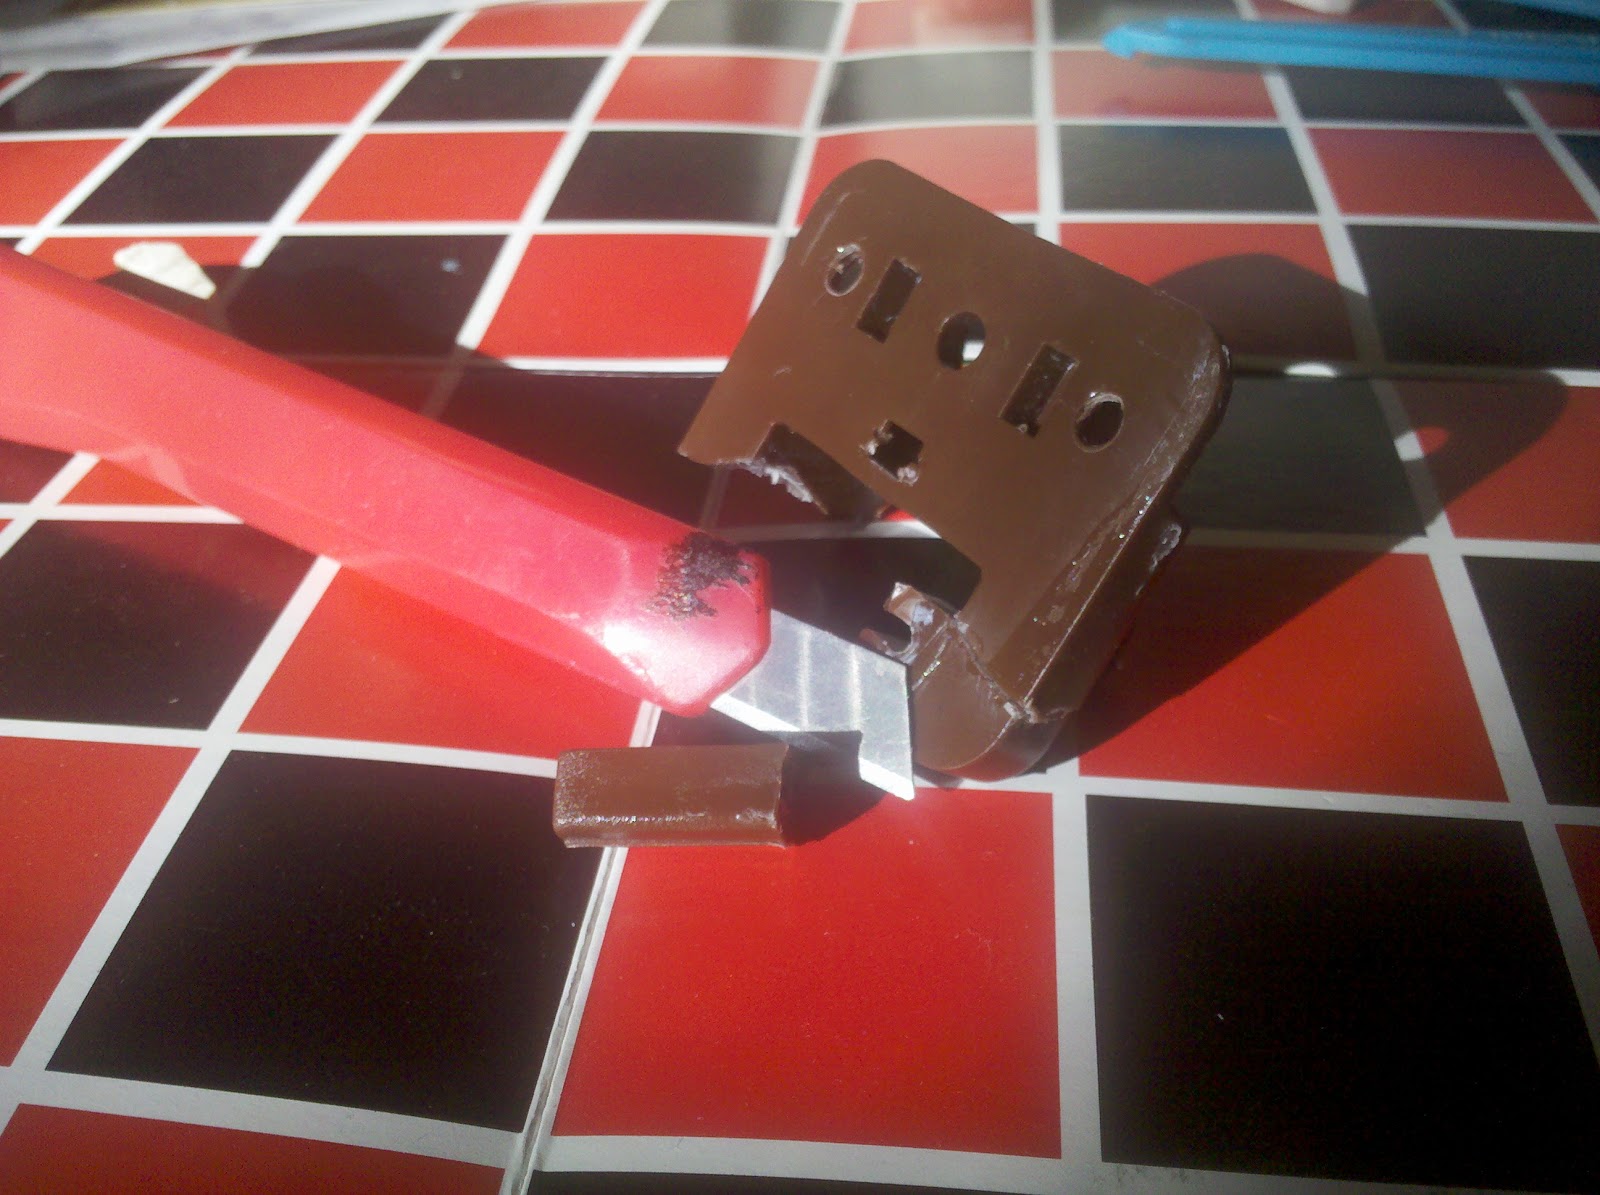
First you need a thing you want to make. In my case it was another drawer guide that broke. To start with you need a flat surface. This one had a strange sticky-out bit so I cut that off but I kept the bit for later steps. Next is the really clever bit. In the past I put the object on a piece of graph paper and took a picture, but this time...
...use an inkpad and make a stamp out of the object. It took me a couple of tries to get it right. In the end I lifted up the paper and pushed the paper on to the plastic piece that I was doing a stamp of, rubbing the paper a bit to make a good connection. And in the end I had the exact shape on a paper. At this point you can either scan it in or take a picture, but either way try your hardest to get the grid as lined up as possible. Scanning makes this easier, but it can be done with a camera.

From here it's similar to the previous process. Import your image, turn on grid, make sure the units are set up the same (in this case I was using quarter inch graph paper) and trace the image. Be sure to mirror it to create the parts that you're missing.
When imported into
Inkscape the stamped images don't lend themselves as well to Inkscape's trace bitmap function so I had to do most of this by hand. Not really that big a deal.
(At the time of this writing I was having trouble with inkscapes svg not exporting to the proper scale. Theoretically if you've set things up the exported SVG should import into blender all ready properly scaled, which is half the point of this process (the other half being getting the shape right). Unfortunately I didn't have that happen for me. So I had to fudge it on the scale using my digital caliper. Here's hoping you have better luck.)
Save and import the SVG into
blender and from here's it's just blender-fu to a 3D object.
New part ready to use.


No comments:
Post a Comment
Note: Only a member of this blog may post a comment.